CNC DEFECT TROUBLESHOOTING
Chatter Marks, Burrs, Drifting Dimensions: A CNC Machining Defect Troubleshooting Guide
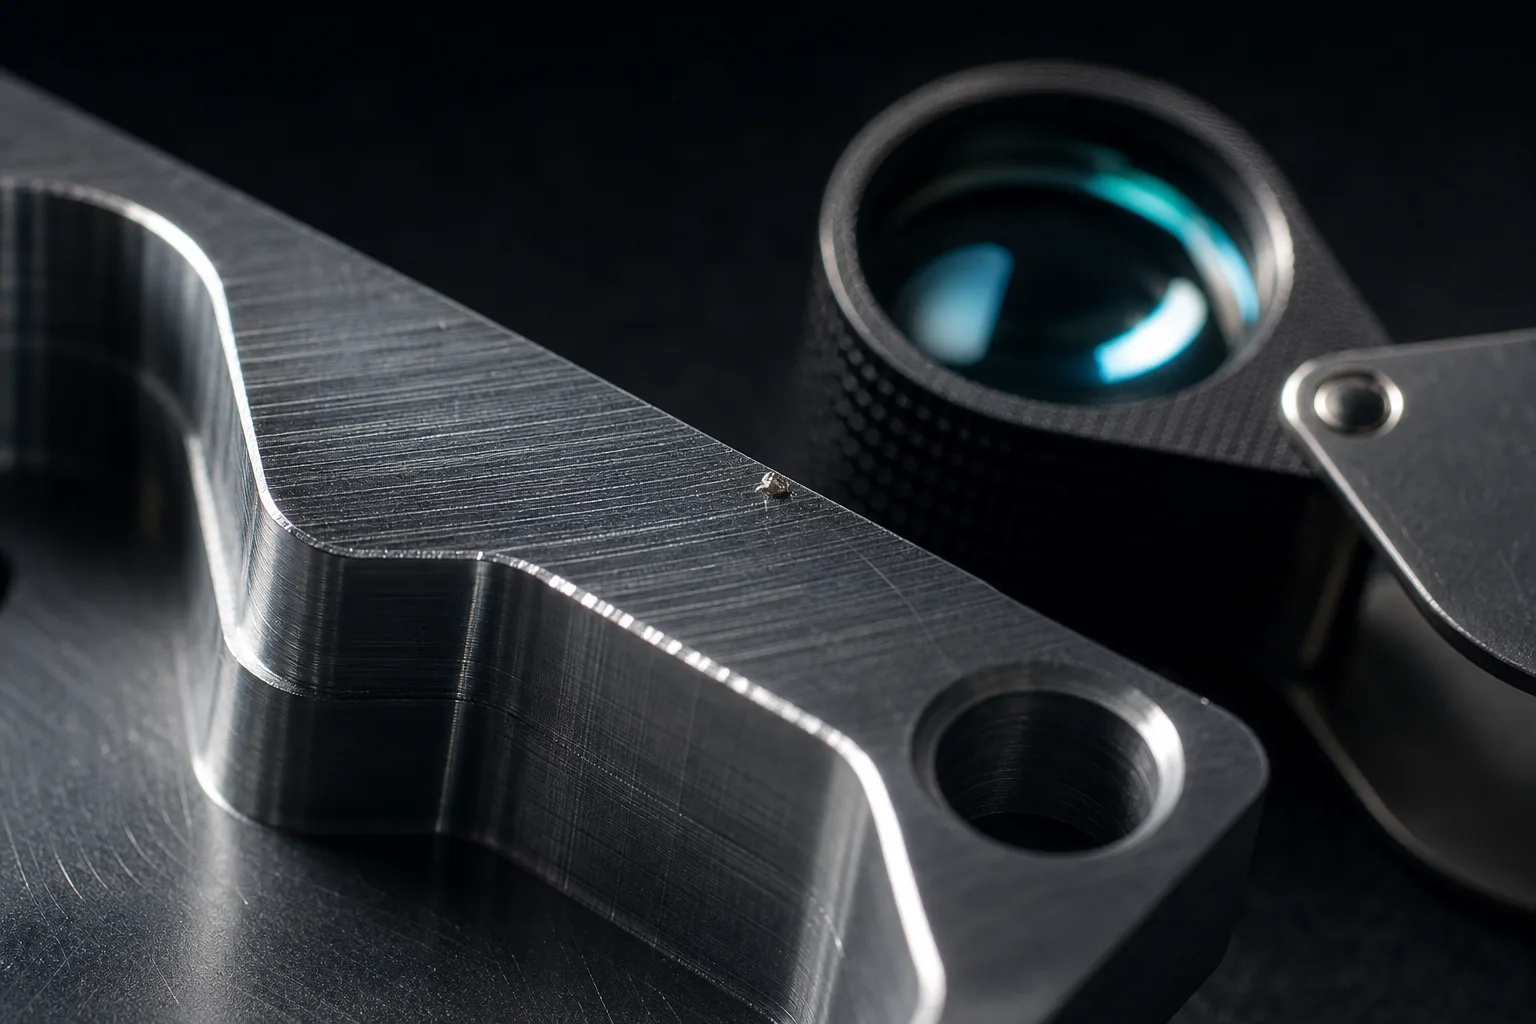
01Classify before you troubleshoot: four diagnostic angles for machining defects
When you hit a bad part on the floor, the worst move is to see chatter marks or a burr and rush to swap the tool or change parameters. Efficient machining defect troubleshooting should first pin the problem to one of four angles: the dynamic rigidity of the machine and clamping, the tool and cutting conditions, the material and thermal behavior, and the program and offset settings. Classic manufacturing-engineering textbooks stress that machining quality is the result of the whole "machine–tool–workpiece–fixture" system interacting, not a single variable[3]. Ask "which class of problem is this" first, then decide which knob to turn — that's how you avoid making things worse the more you adjust.
This article uses the five most common defects as its backbone, and breaks each one down with the same diagnostic method: symptom (how to recognize it), mechanism (why it happens), troubleshooting order (what to touch first and last), and prevention (how to avoid it on the next part). It closes by returning to a practical question: how many of these defects can be intercepted before you press cycle start.
02Chatter marks and chatter
Symptom: regular fish-scale or wave patterns appear on the workpiece surface, accompanied by a sharp high-frequency squeal; in bad cases the cutting edge chips and surface roughness suddenly worsens. Unlike an occasional tool mark, chatter marks usually come in a patch with even spacing.
Mechanism: the root of chatter marks is chatter — a self-excited vibration between tool and workpiece. Authoritative texts on cutting mechanics and machine-tool vibration note that the most common form is "regenerative chatter": the cutting edge cuts across the wavy surface left by the previous revolution, making the cutting thickness vary periodically, with the vibration amplified by its own feedback until the system's dynamic rigidity can no longer suppress it[1]. Chatter is therefore directly related to spindle speed, depth of cut, tool overhang length and workpiece clamping rigidity — swapping in a new machine won't necessarily solve it.
Troubleshooting order:
- First look at clamping and tool overhang — whether the workpiece is clamped tight and whether the tool sticks out too far; this is the cheapest and most common culprit.
- Reduce the radial or axial depth of cut and watch whether the chatter marks disappear, to confirm it's chatter and not a machine fault.
- Adjust the spindle speed to move off the resonance band (at the same depth of cut, the pattern changing when you change speed is a classic sign of chatter).
- If necessary, shorten the tool length, switch to a more rigid tool holder, or add auxiliary support.
Prevention: build up in-house stable-cutting reference values for "tool overhang – depth of cut – speed," and reserve more conservative depths of cut for thin-wall and deep-slot parts. The stability lobe diagram developed in academia is mostly used in research, but its core idea — "certain speed bands actually tolerate a larger depth of cut" — is worth writing into your shop's parameter table[1]. For a systematic treatment of cutting parameters, read further on the AI application of cutting parameters.
03Burrs
Symptom: raised metal burrs left on machined edges, hole mouths or exit faces — sharp to the touch, affecting assembly and measurement, with stubbornly high deburring hours.
Mechanism: a burr forms when material isn't fully cut through as the cutting edge leaves the workpiece, but is instead pushed and plastically folded over. It's highly related to cutting-edge sharpness, feed direction, and whether there's material support at the exit; tool wear dulls the edge and intensifies the pushing effect, so burrs grow larger accordingly[3]. The choice of climb vs conventional milling, and whether the cutting direction is toward or away from the workpiece edge, also determines which side the burr grows on.
Troubleshooting order:
- First confirm the milling direction — climb milling usually gives a better surface and smaller exit burrs, conventional the opposite; rule out a wrong direction choice first.
- Check the cutting-edge condition and sharpness; a dulled edge is a common signal for larger burrs.
- Examine the exit geometry: if the exit face has no relief space or support, burrs are bound to be severe — consider adding a backing plate or adjusting the plunge path.
- Adjust the feed per tooth, avoiding too small a feed that makes the edge "plow" rather than cut.
Prevention: plan the deburring path (chamfer tools, deburring cycles) at the programming stage, making deburring a standard operation rather than an after-the-fact manual fix; hole-mouth burrs can be taken out in one pass with back-drilling or chamfering. Note the boundary: whether the tool "should be changed now" is an on-floor tool-wear judgment that a technician must make based on the actual cut and by listening to the sound and reading the chips — it's not something a pre-run simulation can replace.
04Drifting dimensions: thermal deformation, tool offsets and clamping
Symptom: the first part passes inspection, but after a few parts in continuous production the dimension slowly shifts (unidirectional drift); or within the same batch the dimension swings large and small (random scatter). This is the machining defect type that most troubles quality control, because the causes are scattered.
Mechanism: drifting dimensions come mainly by three routes. The first is thermal deformation — the spindle, workpiece and machine structure expand as they heat up during continuous cutting, and the dimension drifts unidirectionally with temperature; this is one of the important sources of machining error[3]. The second is a change in actual cutting diameter from tool wear. The third is problems with tool-length / radius offset settings or clamping repeatability, causing random scatter. Splitting the problem into thermal vs clamping via "is the drift unidirectional or random" is the fastest triage.
| Observed dimensional behavior | Suspect first | First troubleshooting step |
|---|---|---|
| Gradual unidirectional drift after continuous machining | Thermal deformation, tool wear | Touch off after warm-up; measure temperature rise; check tool wear amount |
| Random large/small swing within a batch | Clamping repeatability, unstable clamping force | Check locating-face cleanliness, clamping sequence and torque consistency |
| Whole batch off by a fixed amount | Offset value, touch-off datum | Verify tool-length / radius offset and workpiece coordinate zero |
| Isolated deviation on a specific dimension | That operation's program or that specific tool | Review that program segment and the corresponding tool parameters |
Troubleshooting order: triage first (unidirectional vs random) → verify offsets and datum → assess thermal and wear → check clamping repeatability. Machining-monitoring research has long focused on using measurement feedback to grasp tool and process state in real time, precisely so this kind of drift can be detected early[2].
Prevention: establish a warm-up procedure, fix the touch-off timing, standardize clamping and torque, and put key dimensions into first-article and in-process patrol inspection. For a systematic approach to clamping repeatability, read further on parameters and operation planning and other fixturing topics in this column.
05Surface smearing and built-up edge (BUE)
Symptom: the surface shows drag-like scratches, uneven bright/dark patches or adhered metal chips, with unstable roughness; especially common when machining sticky materials such as aluminum or stainless steel.
Mechanism: when cutting a ductile material at low speed, the chip material readily cold-welds and builds up at the tool tip, forming a built-up edge (BUE). The built-up edge periodically grows, breaks off and sticks to the workpiece surface, causing smearing and dimensional instability; it's closely related to cutting speed, tool coating and cooling/lubrication conditions[3]. This is a typical on-floor dynamic phenomenon — the same tool may or may not have a built-up edge at different speeds.
Troubleshooting order:
- Raise the cutting speed to get past the low-speed range where built-up edge is prone to occur — the most direct measure.
- Check whether the coolant / lubricant actually reaches the cutting zone; sticky materials especially rely on lubrication.
- Assess whether the tool coating and rake angle suit the material (a sharp edge and smooth rake face are less prone to chip adhesion).
Prevention: specify an appropriate speed range and lubrication strategy for sticky materials (aluminum, mild steel, stainless), and make "don't cut ductile material at low speed for long stretches" a general rule. For reading and annotating surface quality, we suggest pairing this with the surface roughness Ra guide.
06Unclean deep-pocket corners and leftover material
Symptom: uncut material left in the inner fillets or bottom corners of a pocket or deep cavity, with corner dimensions falling short on measurement, or interference in subsequent assembly.
Mechanism: this kind of problem is mostly at the geometry and toolpath level: when the roughing tool diameter is larger than the inner fillet radius, the corner is bound to leave material; in a deep cavity, an overly long tool overhang causing deflection, or a rest-machining tool not being scheduled or path overlap being insufficient, all cause leftover material. Unlike chatter and built-up edge, the cause is almost entirely written into the program and tool geometry, with high predictability.
Troubleshooting order:
- Compare the inner fillet radius with the finishing tool diameter to confirm the tool can even get into the corner in the first place.
- Check whether a re-machining operation and a smaller tool were scheduled.
- Assess the tool overhang and deflection in the deep cavity, and if necessary handle it in layers or with separate tools.
Prevention: use rest-material simulation during programming to check corners and the bottom face, and schedule the corresponding rest-machining toolpaths. Since the cause is highly geometric, this is exactly the class of defect where pre-run simulation shines the most — gouges, leftover material, travel and interference can all be seen first in the virtual environment. For overall prevention of crashes and interference, read further in the crash prevention guide.
07What can be caught before the job runs, and what is on-floor craft
Lay out the five defects and you'll find they fall on a spectrum: at one end is the geometry / dimension type, whose causes are written in the program and drawing — predictable and verifiable in advance; at the other end is the dynamic / material type, which depends on the vibration, temperature and tool condition at the moment of cutting and must rely on parameters and a technician's on-the-spot judgment.
| Defect | Main nature | Verification possible before the job runs | Part that still needs on-floor craft |
|---|---|---|---|
| Deep-pocket corner cleanup / leftover material | Geometry | Cutting simulation to preview leftover material and rest-machining paths | The actual amount of tool deflection |
| Drifting dimensions (offset / datum type) | Setup | AI dimension cross-verification: model checked against drawing annotations one by one | Real-time compensation for thermal deformation and wear |
| Burrs | Mixed | Simulation to confirm milling direction and exit path | Cutting-edge sharpness, when to change the tool |
| Chatter marks (chatter) | Dynamic | Path and clamping interference can be checked; stability relies on reference values | On-the-spot fine-tuning of speed / depth of cut |
| Built-up edge / smearing | Material dynamic | Hard to determine in advance | Speed range, lubrication, tool-condition judgment |
In other words, what the two pre-run AI verifications can catch is the class of problem "whose cause is written in the program and drawing": one is 3D cutting simulation, intercepting gouges, leftover material, insufficient deep-pocket corner cleanup, travel overruns and fixture interference; the other is an independent AI cross-checking the 3D model's dimensions against the drawing annotations, actively flagging anomalies in dimension interpretation and offset settings, reducing "only finding a misread dimension at the first article." The machining-monitoring literature also stresses again and again that moving problems upstream and detecting them early is far more economical than reworking after the fact[2].
But we should honestly draw the line: chatter, built-up edge and tool wear are dynamic phenomena at the moment of cutting, depending on the vibration, temperature and tool condition on the floor. These are on-floor craft solved by in-house parameter reference values and a technician's on-the-spot judgment; simulation and dimension verification can only lower the risk, not replace it. The pragmatic approach is to let AI catch all the predictable geometry and dimension problems before the job runs, and save the operator's attention for the few things that genuinely need on-the-spot craft.
08FAQ
Is chatter a machine problem or a parameter problem?
It's mostly a self-excited vibration caused jointly by the dynamic rigidity of the tool–workpiece system and the cutting parameters, not a single component that has failed. As a troubleshooting order, first check whether the clamping and tool overhang are too long, then reduce the depth of cut or change the spindle speed to move off the resonance band. Chatter arises from the regenerative effect, so adjusting speed and depth of cut is often more effective than replacing the machine.
The burrs just won't clear up — is the tool dull?
Tool wear is one of the common main causes, but not the only one. Burrs are related to cutting-edge sharpness, feed direction and exit support. First check whether climb/conventional milling was chosen wrongly or the exit has no relief space, then assess the tool condition. Whether the tool on the floor should be changed still has to be judged by a technician based on the actual cut.
Why do dimensions slowly drift after machining several parts in a row?
Dimensional drift in continuous machining often comes from thermal deformation, then tool wear and insufficient offset or clamping repeatability. When troubleshooting, first tell whether it's a "unidirectional drift over time" (leans thermal) or "random scatter" (leans clamping), then treat accordingly.
Which machining defects can be caught before the job runs?
Geometry- and dimension-type problems are the most preventable in advance: gouges, leftover material, insufficient deep-pocket corner cleanup, travel overruns and interference can be previewed with 3D cutting simulation; dimension-interpretation and offset errors can be caught up front by an independent AI cross-check. But chatter, built-up edge and tool wear are on-floor dynamic phenomena that rely on parameters and a technician's on-the-spot judgment — simulation can only lower the risk, not fully replace it.
Get notified when new articles and video walkthroughs go live — no inbox spam, one-click unsubscribe. (newsletter in Chinese)
CATCH DEFECTS BEFORE THE SPINDLE STARTS
Catch the predictable defects before the job runs
Use cutting simulation and AI dimension cross-verification to intercept leftover material, corner cleanup, interference and dimension-interpretation errors up front, and save the operator's craft for the genuine floor problems.
Talk to an onboarding consultant Training courses09References
- Altintas, Y. (2012). Manufacturing Automation: Metal Cutting Mechanics, Machine Tool Vibrations, and CNC Design (2nd ed.). Cambridge University Press.
- Teti, R., Jemielniak, K., O'Donnell, G., & Dornfeld, D. (2010). Advanced monitoring of machining operations. CIRP Annals, 59(2), 717–739.
- Kalpakjian, S., & Schmid, S. R. (2020). Manufacturing Engineering and Technology (8th ed.). Pearson.