MEASUREMENT FUNDAMENTALS
Calipers, Micrometers, or a CMM — How to Choose? A Measuring-Tools Primer
01What are measuring tools? First, tell "precise" from "accurate"
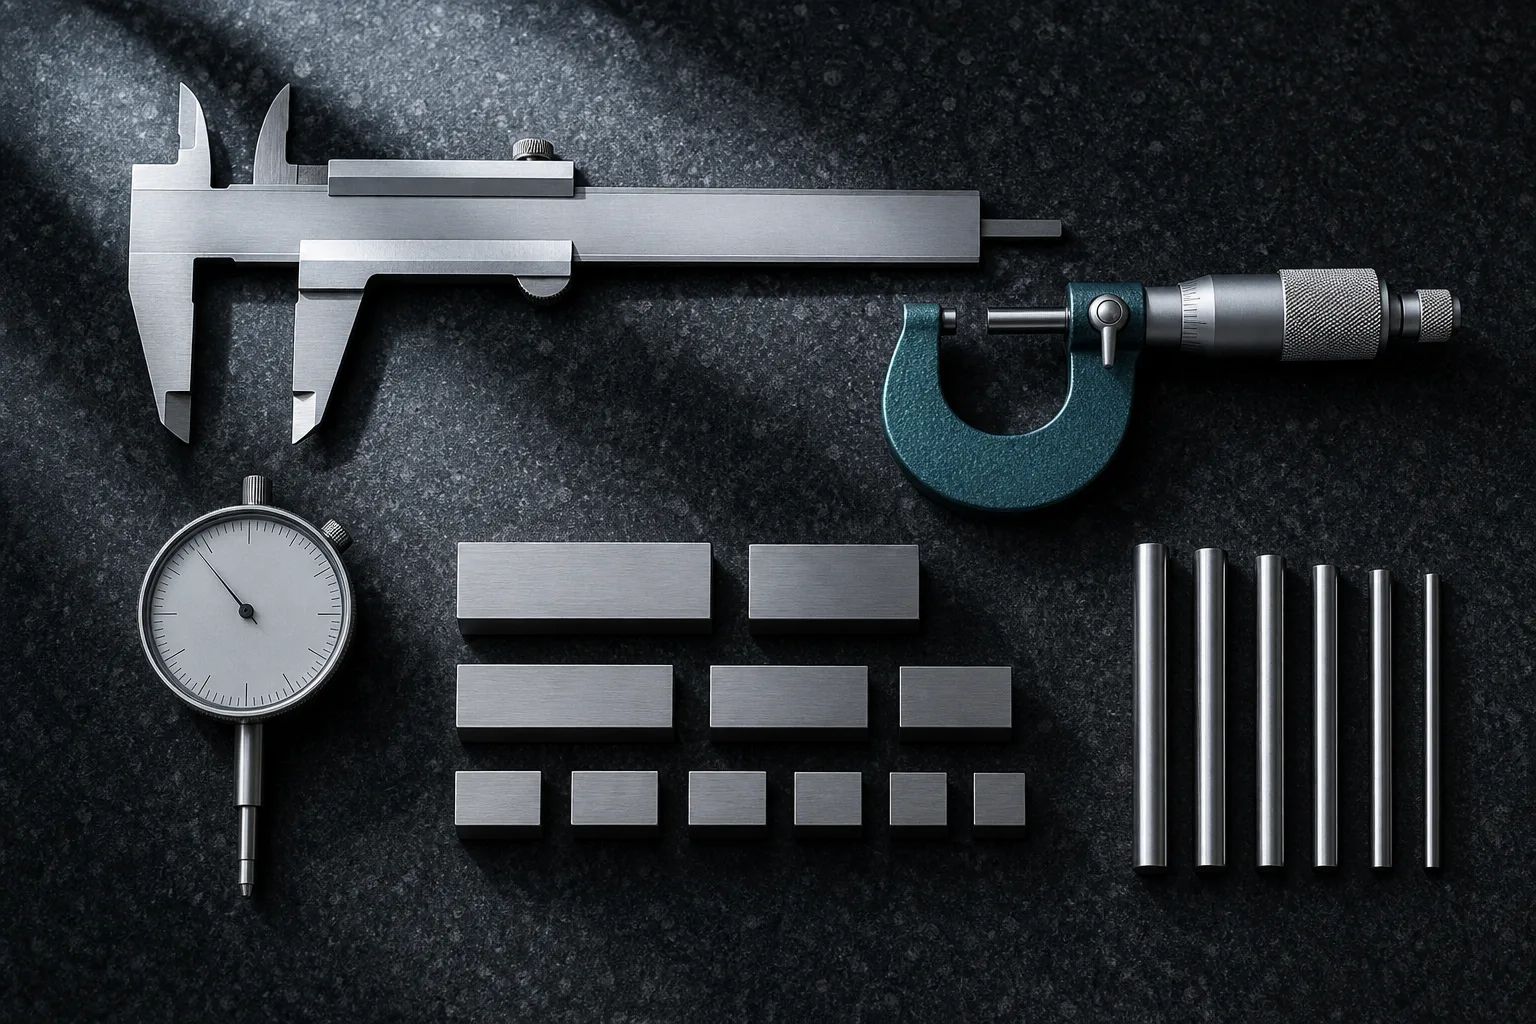
Measuring instruments are the tools used to confirm whether a workpiece's dimensions fall within the drawing's tolerances — from the most common calipers and micrometers, to depth gauges, plug gauges, and height gauges, all the way to the coordinate measuring machine (CMM). For a shop-floor beginner, the first step isn't rushing to memorize specs, but first distinguishing two concepts that often get mixed up.
Precision is how stable the numbers are when you measure the same dimension repeatedly; accuracy is how close the measured value is to the true dimension. A micrometer with 0.001 mm resolution looks very "precise," but if it wasn't zeroed — or has long since drifted — however stable the numbers are, they aren't "accurate." Manufacturing-engineering textbooks treat metrology as an independent link in machining quality, stressing that the capability of the measurement system itself directly determines whether we can trust the numbers in hand[1]. That's exactly why calibration comes up later.
02The 10:1 rule: tool accuracy should be an order of magnitude better than the tolerance
The question most asked when choosing a tool is: "which one do I use for this dimension?" The answer starts with the tolerance, not the tool. The industry's general rule of thumb is the 10:1 rule (the ten-to-one principle, also called the gauge-maker's rule): a tool's resolution or measurement uncertainty should be an order of magnitude better than the tolerance being measured — about one-tenth[1].
For example, if the drawing's tolerance band is 0.02 mm, ideally you'd choose a tool with resolution on the order of 0.002 mm, so measurement error itself eats up only a small part of the tolerance and the good/bad decision actually means something. Conversely, if you use a caliper with 0.02 mm resolution to measure a dimension with a 0.02 mm tolerance, the measurement error is almost as large as the tolerance — you're basically guessing.
So the correct order is always: read the drawing tolerance first → use 10:1 to decide the resolution class you need → then pick the matching tool. Once this habit is in place, choosing a tool is no longer a matter of gut feeling.
03A table of common tools: range, resolution class, and where they fit
The table below organizes the six most-used classes of tools on the floor. It gives only qualitative classes (coarse / medium / fine / very fine) and typical uses; for actual specs, defer to each brand's catalog and calibration report — because for the same class of tool, specs vary widely by grade and brand.
| Tool | Range | Resolution class | Where it fits |
|---|---|---|---|
| Vernier / digital caliper | Medium–large | Medium (coarse) | General quick measurement of outside diameter, inside diameter, depth, step dimensions; looser-tolerance dimensions |
| Outside micrometer | Small (in segments) | Fine | Tighter-tolerance dimensions like outside diameter and thickness; when 10:1 calls for finer resolution |
| Depth gauge / depth caliper | Medium | Medium–fine | Depth measurement down from a datum face: hole depth, slot depth, step height |
| Plug gauge (Go / No-Go) | Fixed size | Go/No-Go decision | Fast pass/fail check of hole diameter and threaded holes; reads no value, only pass or fail |
| Height gauge | Large (vertical) | Medium–fine | Measuring height, scribing, and relative positions on a surface plate; often paired with a granite plate |
| Coordinate measuring machine (CMM) | Large | Very fine | Geometric tolerances, complex surfaces, hole-group relative positions, large point counts, and measurement reports |
The table reveals a clear thread: the tighter the tolerance and the more complex the geometry, the more you move toward tools with finer resolution and greater coverage. Most everyday outside-diameter, depth, and step dimensions can be handled with calipers and micrometers; the plug gauge specifically solves the yes-or-no question of "does the hole pass or not," fast and without reading a value. The automation-systems literature also notes that measurement and inspection are the key link that feeds machining results back into process control, and only the right tool lets the data truly play its role[2].
04Correct handling and zeroing: the three mistakes beginners make most
Same tool, same workpiece, different people getting different results — most of the time it isn't a broken tool but a handling habit. The three most common issues for beginners:
- Forgetting to zero: a micrometer or digital caliper must be zeroed before use (close the caliper's jaws; zero the micrometer or set it to zero against the setting rod). Without zeroing, every subsequent number carries the same offset.
- Inconsistent measuring force: vary the force by feel and the reading drifts. A micrometer's ratchet exists precisely to keep the contact pressure consistent each time; when measuring, turn the ratchet until it clicks rather than cranking the body hard.
- Not squared up, not seated flat: the caliper's jaws should be perpendicular to and flush against the measured face, and when measuring a round bar you must pass through its widest diameter; tilt it slightly and the reading comes out too large or too small.
Also remember the effect of temperature: metal expands and contracts with heat, so a workpiece still hot straight off the machine, or a tool held in your palm too long, will distort the numbers. Precision measurement usually requires the workpiece and tool to equilibrate near standard room temperature (about 20°C) before measuring. These seemingly trivial details are exactly the difference between "measuring accurately" and "measuring something that looks right."
05Tool calibration: why "accurate" is harder than "precise"
Tools slowly drift with wear, impacts, corrosion, and long-term use. A caliper used for three years and dropped a few times might still read very stably (precise) yet no longer be accurate (its accuracy has drifted). That's why calibration can't be skipped.
The heart of calibration is traceability: comparing the tool against a higher-grade standard (such as gauge blocks or a setting ring) to confirm its readings still fall within the allowed error, and leaving a record and a reference. Automation and quality-control textbooks treat the trustworthiness of the measurement system as the bedrock of the whole quality system — if the measurement data itself is unreliable, downstream statistical process control (SPC) and inspection decisions are all built on wrong numbers[2]. In practice, build three habits:
- Calibrate regularly: set intervals by usage frequency and importance, and apply a calibration label (with the expiration date visible at a glance).
- Self-check before use: zero before each measurement and visually inspect the jaws / anvil for damage.
- Keep records: retain calibration reports and references — this is the necessary basis for passing customer audits and providing a first-article inspection report.
06When should you use CMM measurement?
Handheld tools excel at measuring a "single dimension," but in the following cases they fall short and you should put the workpiece on a coordinate measuring machine (CMM):
- Geometric tolerances: position, roundness, flatness, perpendicularity, and the like require multi-point fitting to compute — a caliper or micrometer can't measure them.
- Hole-group relative positions: the relative coordinates between multiple holes and each hole's distance to a datum are most reliably measured by establishing a coordinate system in one pass on a CMM.
- Complex surfaces and large point counts: free-form surfaces on molds and blades, or when you need dense point sampling for a report.
- Customer-required measurement reports: first-article inspection and high-precision assembly verification usually come with CMM data.
Conversely, general outside-diameter, thickness, and step dimensions don't need a CMM for every part — that's both slow and a waste of resources; go back to the 10:1 rule and use the right handheld tool. For how CMM measurement, scanning, and measurement reports fit into the machining flow, see the further reading in CNC Inspection Measurement and AI Dimensional Comparison to learn how measurement data feeds back into machining prep and accelerates the cross-check between drawing and finished part.
07FAQ
How much better than the tolerance does a tool's accuracy need to be?
The common rule of thumb is the 10:1 rule: a tool's resolution or uncertainty should be an order of magnitude (about ten times) better than the tolerance being measured. For a 0.02 mm tolerance, for example, choose a tool with resolution on the order of 0.002 mm. When practically constrained, it can be relaxed to about 4:1, but the principle of tool accuracy clearly exceeding the tolerance still holds.
What's the difference between a caliper and a micrometer? Which should I use?
A caliper has a large range and high versatility but coarser resolution, suitable for rough measurement of outside diameter, inside diameter, depth, and step dimensions; a micrometer has a small range and fine resolution, suitable for tighter outside-diameter or thickness. To decide, go back to the tolerance: loose calls for a caliper, tighter for a micrometer, and only when geometry or multi-point measurement is involved do you bring in a CMM.
Why must measuring tools be calibrated regularly?
Tools drift due to wear, impacts, and temperature. Without calibration, the numbers look precise but aren't accurate, causing good parts to be rejected or bad parts to pass. Regularly calibrating against traceable standards such as gauge blocks and keeping records is the foundation for trustworthy measurement data in a quality-control system, and a necessary condition for passing customer audits.
When do you really need CMM measurement?
When a dimension involves geometric tolerances such as position, roundness, or flatness, or you need to measure many points, complex surfaces, or hole-group relative positions in one pass, handheld tools can't cover it and you should use a CMM. First-article inspection, customer-required measurement reports, and high-precision assembly verification are often run on a CMM too; general outside-diameter, thickness, and step dimensions can use calipers and micrometers.
Get notified when new articles and video walkthroughs go live — no inbox spam, unsubscribe in one click.
FROM DRAWING TO FIRST-ARTICLE PASS
Point out "which key dimensions to measure" before the part goes on the machine
Measurement confirms the finished part; machining prep decides what the finished part looks like. We use AI to turn drawings into 3D, generate G-code constrained by in-house conditions, and cross-check key dimensions — making the first article more likely to pass on the first try.
Contact an adoption consultant Training courses08References
- Kalpakjian, S., & Schmid, S. R. (2020). Manufacturing Engineering and Technology (8th ed.). Pearson.
- Groover, M. P. (2019). Automation, Production Systems, and Computer-Integrated Manufacturing (5th ed.). Pearson.